Fusion Inventory Agent Silent Install Exe
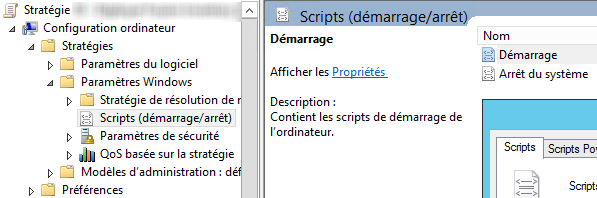
Kudajadriyil album song. Fusioninventory / fusioninventory-agent. Create your free GitHub account today to subscribe to this repository for new releases and build software alongside 28 million developers. Fusioninventory-agent_windows-x86_2.4.2.exe; FusionInventory Agent Windows Installer. FusionInventory Agent. The FusionInventory Agent is a tool for hardware and software inventory and much more, created by the FusionInventory project.It is the successor of the OCSInventory Agent, project from which it has forked end evolved.
Any type of business is bound to have innumerable amounts of items that need to be inventoried, tracked, and managed. Doing so by means of pen and paper not only takes excessive amounts of time but is often prone to multiple user errors. Moving to a digital system such as Excel/Libre Calc worksheets is a little bit more productive and easier to back up but does present some other interesting issues such as access to the spreadsheet, inability to easily query data, or the simple fact that multiple spreadsheets easily becomes a logistical nightmare! GLPI is a fantastic piece of information-resource management software that can be installed to track company resources. GLPI is comparable in functionality to several commercial pieces of software such as LanSweeper, EasyVista,and ManageEngine. Set MySQL Root Password 2. After all of the packages finish installing, it is always a good idea to make sure that the server services are running.

This is easily accomplished by evaluating the system to see what services are listening on what ports with the ‘‘ utility. # lsof -i:80 [will confirm apache2 is listening to port 80] # lsof -i:3306 [will confirm MySQL is listening to port 3306] Another way to confirm apache2 is working and delivering a web-page is to open a web browser and type the Debian server’s IP address in the URL bar. If Apache2 is working, the web browser should return the “ default” Apache2 page. Apache Default Page Now that Apache2 is at least serving up a web-page, lets first prepare the MySQL database and then configure Apache2 to server GLPI.
Step 2: MySQL Configuration 3. From the Debian server, log into the MySQL command line interface using the ‘ mysql‘ command. # mysql -u root -p This command will attempt to log into MySQL as the MySQL root user (NOT the system root user). The ‘ -p‘ argument will prompt the user for the MySQL root user password that was configured when MySQL was installed in the prior paragraph. At this point, a new database ‘ glpi‘ needs to be created for GLPI. The SQL command to do accomplish this task: mysql> create database glpi; To confirm that this new database was indeed created, the ‘ show databases;‘ command can be issued. The result should look similar to the below screen-shot.
Mysql> show databases. Show MySQL Databases 4. From here, a new user with privileges to this database should be created.
It is never a good idea to use the root user! To create a new MySQL user and assign them permissions to the ‘ glpi‘ database: • create user ‘glpi’@’localhost’; → creates a MySQL user called ‘ glpi‘.
• grant all privileges on glpi.* to ‘glpi’@’localhost’ identified by ‘some_password’; → this grants all database privileges on the database called ‘ glpi‘ to the newly created user ‘ glpi‘ and then assigns a password required for that user to access the SQL database. • flush privileges; → run this for the new privileges to be read by the MySQL server. Mysql> create user 'glpi'@'localhost'; mysql> grant all privileges on glpi.* to 'glpi'@'localhost' identified by 'some_password'; mysql> flush privileges; At this point, MySQL is ready and it is time to obtain the GLPI software. Step 3: Obtain and Prepare GLPI for Installation 5.